

More than two billion people use YouTube, the most popular video platform, and videos make up over 82% of all web traffic.
Since YouTube is a vital marketing tool, it’s critical to understand how to use it for your own company.
You may start posting your own videos and expanding your audience right now by reading this article, which will cover all the information you need to start a YouTube channel.
Not able to start a new channel?
It’s possible that you’re using an old version of the YouTube app if you’re seeing a “This action isn’t allowed” prompt when you try to create your channel.
The following are your options for moving forward:
1. Update your device’s YouTube app.
2. Using a computer browser, create your YouTube channel (see the detailed instructions below).
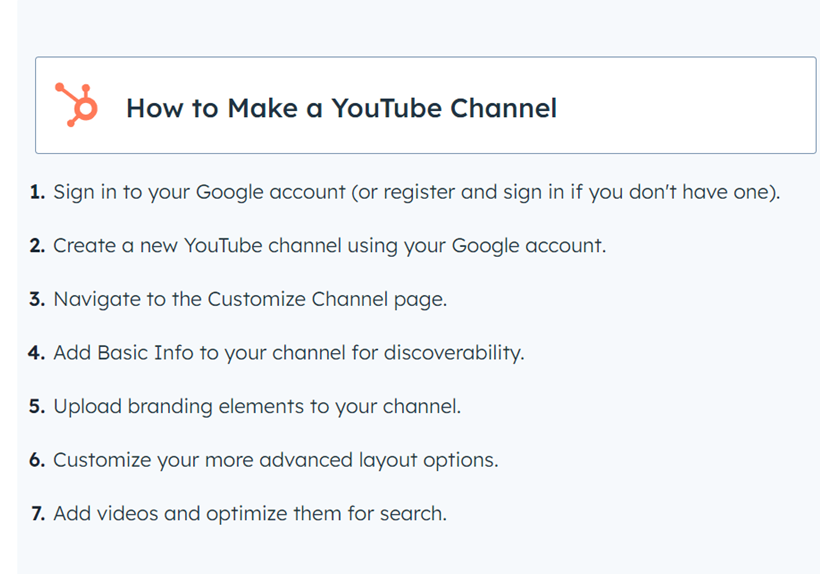
How to Create a YouTube Channel?
Businesses can expand more effectively by starting and maintaining a well-run YouTube channel with regular content, but doing it correctly is just as crucial. This is the methodical way to accomplish it.
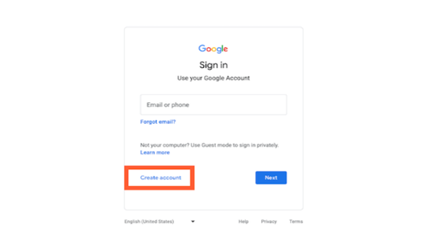
1. Sign in to your Google account
To begin creating your YouTube channel, you’ll first need to sign in to your Google account. If you already have a Google account, simply go to youtube.com and click on “Sign In” in the upper right-hand corner. If you do not have a Google account, you can easily create one by clicking on “Create Account” and following the prompts to register.
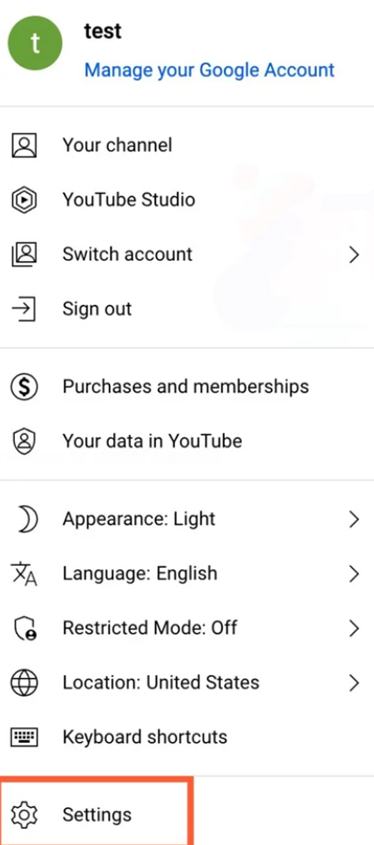
2. Use your Google account to launch a new YouTube channel
Once your Google account is set up and logged in, it’s time to establish a channel. Select the user icon located in the upper right corner. Given that Google owns YouTube, this applies to both your Google and YouTube accounts. A menu with a drop-down selection will appear; choose “Settings.”
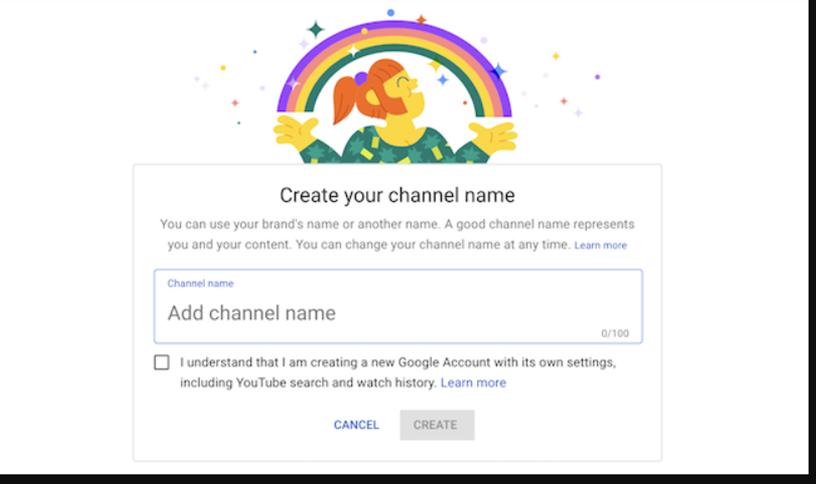
After that, you’ll be sent to an account overview page. Click the “Create a new channel” button under “Your Channel.”

Make sure to create a new channel name first. You don’t have to use the same name that you used to register for your Google account; however, we do advise that it accurately represents the brand that the YouTube channel will represent.
You may be prompted to confirm the account by phone or text message after entering the channel name. In that case, input the code you get from the selected option.
Once your account has been authenticated, you will be brought to your channel’s dashboard. Now it’s time to begin customizing it.
3. Navigate to the Customize Channel page
We’ll start with the fundamentals of your channel. From the channel dashboard, select “Customize channel.”
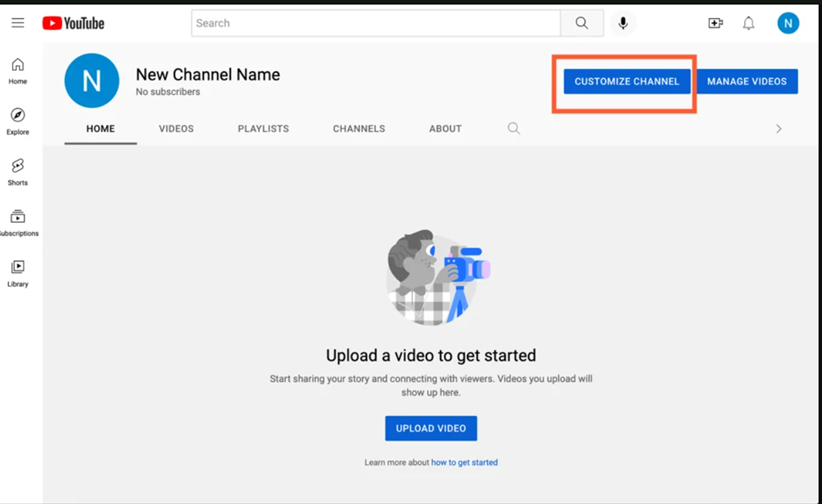
You will then be brought to the channel customisation page.
You will see three tabs: “Layout,” “Branding,” and “Basic info.” These three tabs will help you optimise your channel for viewers.
4. Add essential information on your channel to enhance its visibility
Start by clicking “Basic info.”
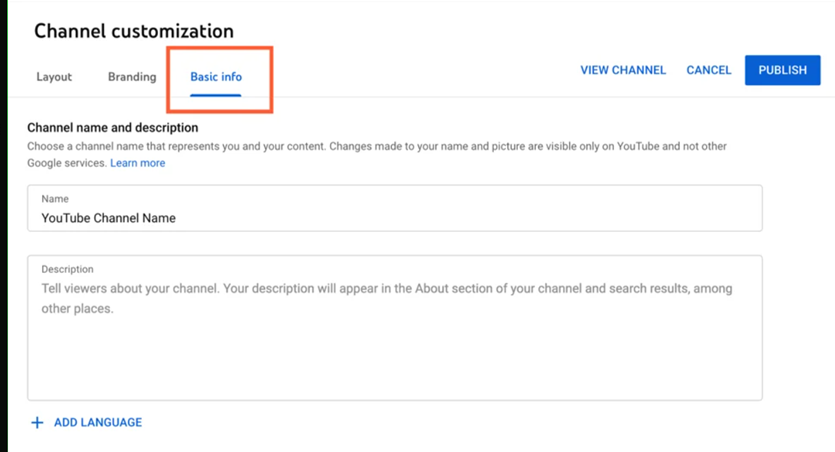
Here’s where you’ll put a few essential details about your channel, such as the language in which your videos are available, as well as an overview that will assist others find your channel when they search for videos that match their criteria.
These keywords can include your channel’s topic, the issues that it helps solve, the people and goods showcased, your industry, and more.
You will also be able to include links to websites that you want to share with your audience. These links will be presented over your banner image (more on that later) as follows:

5. Upload branding elements to your channel
Aside from the informative facts you’ve provided, there is another aspect of customization for a new YouTube channel: The visuals.
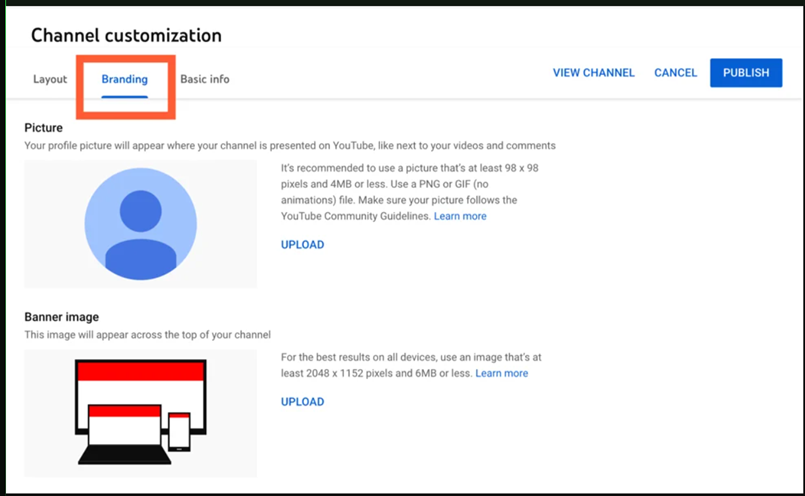
You can upload your profile photo, banner image, and video watermark under the “Branding” option.
Profile Picture
When exploring video content on YouTube, users can use profile images to identify the video’s creator. YouTube suggests using a photo with dimensions of at least 98 x 98 pixels.
Banner Image
The banner picture is a large banner that appears at the top of your channel page, and it provides a great opportunity to communicate your brand to your visitors. YouTube suggests using an image with a resolution of at least 2048 x 1152 px and 6MB or less.
Video Watermark
The video watermark appears at the bottom right corner of every video you submit. You should select a logo that best reflects you, sized at 150 x 150 pixels.
6. Customize your more advanced layout options
Click the “Layout” tab.
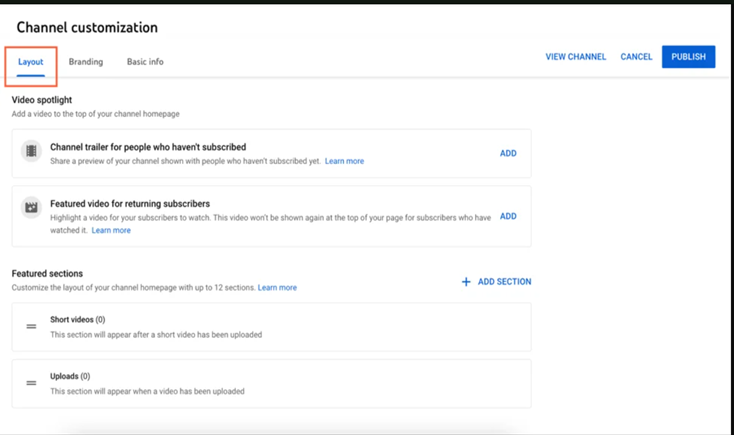
From here, you may customize how your material appears on your channel’s page. You’ll be able to designate a video spotlight and structure your channel page into prominent parts.
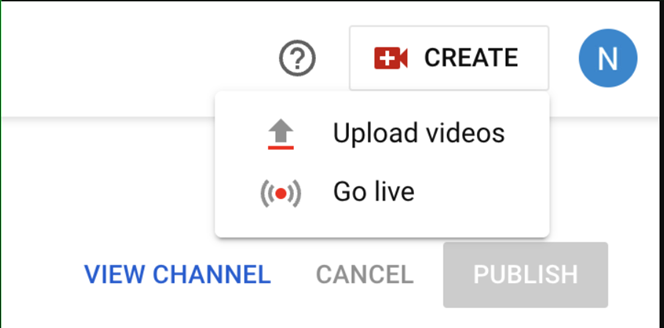
7. Add videos and optimize them for search
To add your first video to YouTube, click the “Create” button in the top-right corner and then follow the instructions.
The first step is to optimize your channel for discoverability. You should make sure that your videos are search engine optimized as soon as you begin uploading them, as this will aid in user discovery.
However, while having clear, intelligible, and concise names for your films is essential, this goes beyond that. We’ll go over some of the most important YouTube optimization tips below.
Title
One of the first things that catch our attention when searching for videos is the title. It’s often what decides whether or not a person will click to watch your video, so it needs to be both clear and succinct as well as interesting.
Description
The character count should be restricted to 1,000. Keep in mind that your audience came here to watch a video, not to read a lengthy text. Additionally, YouTube only shows the first two or three lines of text, or roughly 100 characters, so put the most crucial information first in the description.
Tags
Adding tags to your video helps YouTube comprehend its content and context in addition to informing viewers about the subject matter of your video. In this manner, YouTube can link your video to related videos, increasing the audience for your material.
However, proceed with caution: avoid using deceptive tags, like with your title, even though they may increase the number of views you receive. Google may even penalize you for it.
Category
Another approach to put your video on YouTube with related content is to choose a category, however that may be trickier than it seems.
Marketers are advised by YouTube’s Creator Academy to “think about what is working well for each category” they are considering by providing answers to queries such as:
• Who are the most accomplished creators in the field? What qualities do they have, and what are their strong points?
• Do the viewerships of related channels in a certain category exhibit any trends?
• Do the videos in a certain category have the same format, length, or production value?
Conclusion:
By following this step-by-step guide, you’ll be well on your way to creating a successful YouTube channel for your business. Start sharing your content, engaging with your audience, and growing your brand on the world’s largest video platform today!


